一键安装脚本
1
| bash <(wget -qO- -o- https://git.io/v2ray.sh)
|
你执行了上面的安装命令,并且没有错误提示的话,那么你就能看到类似下面的图片
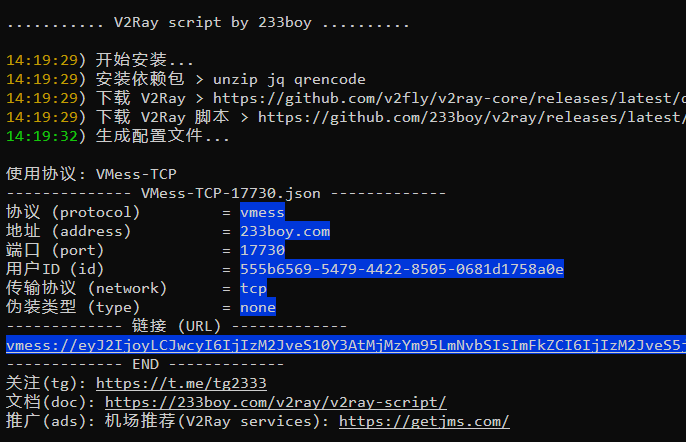
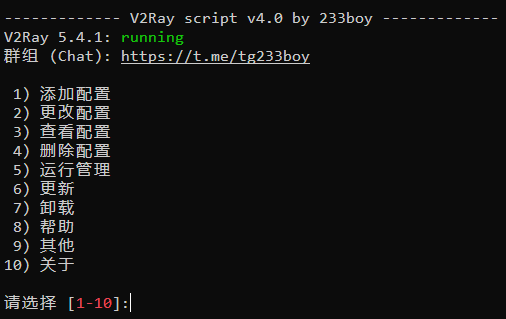
V2Ray 管理面板
输入 v2ray 回车,即可管理 V2Ray
打开 BBR 优化
使用:v2ray bbr 便会自动打开 BBR 优化了!非常简单方便
教程
GitHub
cloudreve网盘搭建
下载对应版本:https://github.com/cloudreve/Cloudreve/releases
1
2
3
4
5
6
7
8
|
tar -zxvf cloudreve_VERSION_OS_ARCH.tar.gz
chmod +x ./cloudreve
./cloudreve
|
进程守护
Systemd
1
2
|
vim /usr/lib/systemd/system/cloudreve.service
|
将下文 PATH_TO_CLOUDREVE 更换为程序所在目录:
1
2
3
4
5
6
7
8
9
10
11
12
13
14
15
16
17
18
| [Unit]
Description=Cloudreve
Documentation=https://docs.cloudreve.org
After=network.target
After=mysqld.service
Wants=network.target
[Service]
WorkingDirectory=/ar/cloudreve
ExecStart=/ar/cloudreve/cloudreve
Restart=on-abnormal
RestartSec=5s
KillMode=mixed
StandardOutput=null
StandardError=syslog
[Install]
WantedBy=multi-user.target
|
1
2
3
4
5
6
7
8
|
systemctl daemon-reload
systemctl start cloudreve
systemctl enable cloudreve
|
管理命令:
1
2
3
4
5
6
7
8
9
10
11
|
systemctl start cloudreve
systemctl stop cloudreve
systemctl restart cloudreve
systemctl status cloudreve
|
修改端口:
首次启动时,Cloudreve 会在同级目录下创建名为conf.ini的配置文件,你可以修改此文件进行一些参数的配置,保存后需要重新启动 Cloudreve 生效。
vim /ar/cloudreve/conf.ini
将5212改为其他端口(确保不被占用,并防火墙放行)
1
2
| systemctl stop cloudreve
systemctl start cloudreve
|
教程
GitHub